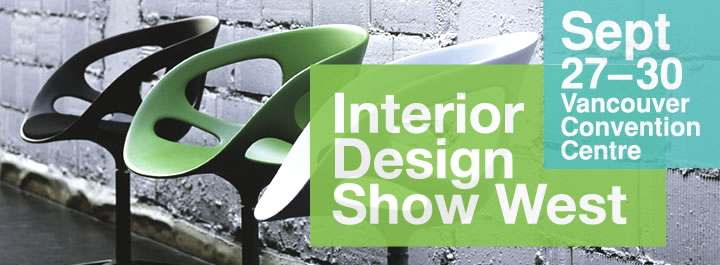
As some of you may know, Hatch Interior Design was selected as one of five exhibitors for IDSwest’s ‘Make Your Mark’ showcase. We were given a 4’ x 4’ space to show attendees what we are all about. The show was great; we met a lot of interesting and talented people, discovered some cool products, and enjoyed some of Vancouver’s food and culture.

The concept behind our booth was playing with the word ‘Hatch‘ using found, natural, reclaimed, recycled and sustainable materials applied in imaginative ways to create a modern and vibrant space.
Hatch Exhibit Step by Step
Preparing for the show was, to put it mildly, a lot of work. Interested in seeing our process? We’ve put together progress and final photos to give you a glimpse of how it all came together.
Step 1: Graffiti Moss
There has been a bit of a buzz about graffiti moss on the web, anyone who uses Pinterest has surely seen this. Looks super cool and relatively easy; just blend up some moss, water, buttermilk and corn syrup, paint it onto a somewhat textured surface, and mist once a week. The result should be beautiful, green, mossy goodness that impresses all who see it.
This was failed attempt #1. The moss paint was clearly too watery and dried up instantly.

Pictured above: Our first moss graffiti attempt & building the framework for our reclaimed wood panels.
Step 2: Reclaimed Wood Panels
We love to use reclaimed wood in our projects, especially from local sources. For the wood panels the Hatch team decided to seek out damaged shipping pallets that local businesses were tossing. Pulling the pallets apart to reuse the wood planks is easy, right? Wrong. Not an easy task at all! Luckily we are stronger than we look… and have access to a multitude of tools to make our lives easier.
Yielding brad nailers and a carpenter’s square, we attached the reclaimed wood planks to a frame we built from locally manufactured pine beetle lumber. We then nailed the planks onto the frame, painted it white with a no VOC paint, and sanded the exposed surface to achieve a weathered look.

Pictured above: Before and after the reclaimed wood panels were finished.
Step 3: More Graffiti Moss
Time to adjust our moss paint recipe and try this graffiti thing again. Increase the moss to liquid ratio and add a little beer. The consistency was great and our hopes were high for this crack at it.
This was failed attempt #2. We live in Kelowna where midsummer conditions are extremely dry and hot. We did absolutely everything we could think of to help this moss grow; constant misting to ensure it didn’t dry out, tented it with poly to try to retain moisture, kept it indoors where it was cooler… but to no avail. There was also a failed attempt #3 (not pictured nor mentioned in the remainder of this post).

Pictured above: Our second moss graffiti attempt & painting the pine beetle rounds to create our logo.
Step 4: Booth Construction
We weren’t exactly handy enough to frame and build the entire booth by ourselves and have it look professional. We instilled the help of our favourite contractor, Logan. Without him none of this would have been possible, THANK YOU LOGAN!

Pictured above: Logan showing off his handy work.
The bones of the booth went together, again using locally manufactured pine beetle lumber, and the pieces started to come together. There were a few late nights and some weekend adventures; Russ gave a hand fitting and installing the ‘nest’ ceiling. Thanks Russ! We even incorporated a hatch (no pun intended, but a nice coincidence) into the floor of our exhibit to store our just-in-case-fix-it tools, personal belongs, etc.

Pictured above: Russ jumps in to help during a late night ceiling session.
Step 5: Finishing Touches
We wrapped the interior white panels in yellow painted chicken wire for a cool patterned look. We found pine beetle kill logs, sliced them into rounds and painted them with circles to emulate our logo on the wall of our exhibit. Hulger donated Plumen bulbs for energy efficient lighting, and the carpet tile donated by Mannington had 30% recycled content and the perfect colour and pattern to brand our company.
Step 6: Moss Plan B, Plan C, Plan D…
What do you do when your three valiant attempts at moss graffiti fail? Brainstorm, experiment, panic and brainstorm some more. We tried a multitude of different ideas, including chia, before we found the one that worked. The winning method was a homemade flour-sugar-water paste that glued pieces of moss, intact, onto our boards (with a couple of staples here and there). The paste actually feeds the moss and helps it stay alive for a period of time.

Pictured above: It’s working! Forget the graffiti moss, the homemade paste worked much better with instant gratification.
We are really happy with how it turned out. And really grateful… it took many hours to complete, and it was the eleventh hour!
Step 7: Pack it Up and Go!
The morning of the show we packed up and drove down to Vancouver to arrive at the Vancouver Conventional Centre 5 hours before opening night celebrations.
Step 8: Setup on the Show Floor
Things went smoothly once we got the pieces in and started assembling. Luckily we had pretty much thought of everything, and any construction surprises were quickly figured out by Logan.

Pictured above: The Hatch team assembling the exhibit on the IDSwest show floor.
Step 9: Enjoy the Show!
The final result is one that we are proud of. The exhibit looked great, attendees really dug the moss, and we had a great time.


